
We’ve just finished our first pass at looking over the Space4Cycling data. We managed to put our data into a single google map to build and examine the wards, and we thought we’d share how we’d done so. This is by no means the best way to do it, but it got the job done.
First step – getting shape files.
We’ve sourced our shape files from MySociety’s MapIt service.
If you’re in London, we’ve saved you the hard work and made shape files for every ward within each council in London. It took only fractionally longer than just making ours. These are on dropbox here.
If you’re outside London, here’s a passable way of making a combined kmz file.
- Find your council from the list of London Councils, City Councils, District Councils, Metropolitan Districts or Unitary Authorities on MySociety’s excellent MapIt service.
- Curse the impressive range of local government structures in the UK
- Note the ID and type of your council.
- Construct the query for scraperwiki to grab a combined kml file e.g. for Westminster has a key of 2504 and a typ of LBW https://views.scraperwiki.com/run/kml_merge_test/?key=2504&typ=LBW The easiest way to find the typ to use is to look at the children of your council. This will also remind you if there are parishes as well as wards. You will need to choose which to take.
- Save the resulting page of xml as the NameOfYourCouncil.kml
- Edit it and move the misplaced </Document> tag from just after the first PlaceMark tag to the end of the document between the last </PlaceMark> and the </kml> tags.
- Zip the file and rename it as .kmz (this shouldn’t be necessary but google maps import is a strange beast)
Anyone who can fix that scraperwiki script, much appreciated – we’ve had a go but we’re still getting used to Python! Still, in just a few steps you now have a combined shape file for your council area.
Second step – making a map of the wards in google maps (classic)
This is a bit silly, but new google maps won’t let you import kmz files.
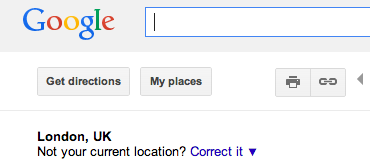
- Go to google maps, and sign in using a google account
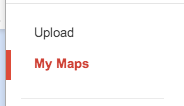
- Click through to ‘My Places’ from the link in the left sidebar
- Click the smaller ‘create with classic My Maps’ text link

- Click import
- Upload the combined kmz file for your council
- Don’t be worried when the import only shows some of the wards, for some reason google pages them when you import

- Rename the map something useful (e.g. Thingamy Council Wards)
- Click Done

note: if you’re in new google maps and there is no pane at the left to click my maps, click cog bottom right and choose my maps from there.

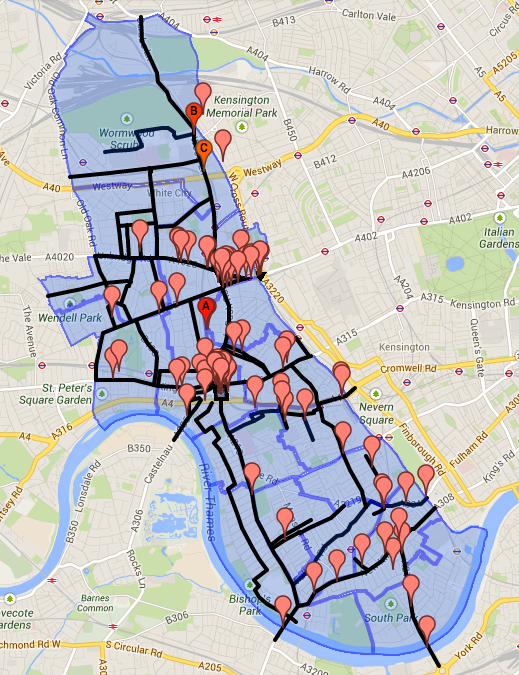
Third step – setting up your map in Google Map Engine Lite
We’ve used google map engine to allow us manipluate three layers on one map
- Our ward boundaries
- Results of the recent space4cycling survey for our borough
- A layer to draw potential asks on
You can only have three layers in the lite (free) version and you can only have up to 100 points, shapes or lines in each layer. Our needs sat right on the edge of this as we had exactly 100 points to work with reported in the Space4Cycling survey.
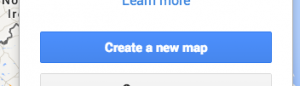
Again, navigate to google maps, and sign in with your google account, navigate to my maps as before however this time you can hit the big red button titled ‘Create Map’.
- Create a new map from the initial dialogue
- You will now have a new empty map with one ‘untitled layer’, click the import button under there

- Select ‘my maps’ from the import dialogue
- Choose your map of wards made in step two to show as that layer and hit select to upload it

- The layer will automatically change to the name of the imported file, you can amend it by clicking on the name of the layer.
- If you have some handy data of issues with coordinates import that as your second layer, click add layer to add another layer. Remember you can import no more than 100 points at once. A simple spreadsheet can be uploaded.
- Rename this second layer to survey data or some other descriptive name
- Make a final layer (click add layer to add) to draw your ideas on


Congratulations – you now have a combined map!
Note – you will now also need to be VERY careful whilst editing to ensure that when you add a point you are adding it to the right layer. Always check that the layer you want to draw on is selected before adding to the map. Google have not implemented functionality to move items between layers.
A few closing remarks about technical stuff
Any technical work to automate, improve or simplify this is welcome in the comments. We would have liked to do it in CycleScape but couldn’t find an import function. Other LCC groups are using CycleScape to some success, and we continue to prod it at the moment. Thinking more widely there is clearly a generic need of cycle campaigners (and perhaps others) to gather data quickly and easily from the general public, gather it on a map, summarise it, share it, and use it to campaign. We’re going to be working hard on Space4Cycling and hope we can come up with more ideas and tips along the way to help campaigners elsewhere.